Problem solved: How to open a Japanese convenience store onigiri rice ball【Pics and video】
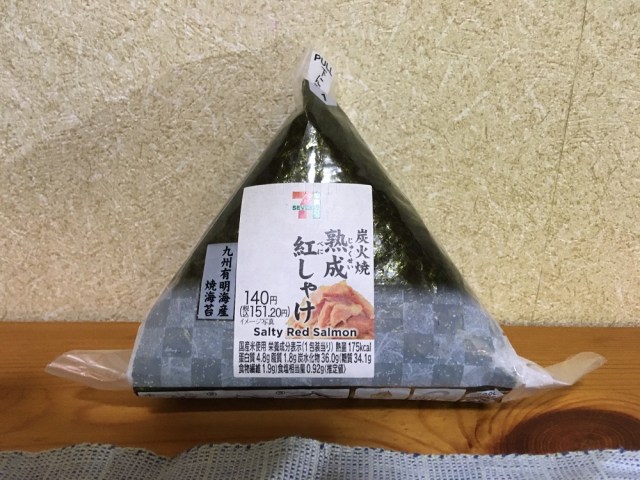
When we saw an international Olympic journalist’s plea for help with one of Japan’s greatest foods, we knew this was a job for SoraNews24!
One of the most direct ways to interact with another culture when traveling abroad is through its food. For visitors to Japan, those opportunities aren’t limited to exclusive sushi restaurants and pricy wagyu eateries, either. As members of the international press gathering in Tokyo for the Olympics are discovering, even a trip to a humble convenience store in Japan can be full of delicious surprises.
Of course, a bit of initial awkwardness is to be expected while getting accustomed to a foreign culture, and former Canadian Olympic speed skater and current sports journalist Anastasia Bucsis (@anastasure on Twitter) found herself both enamored with and frustrated by an onigiri, or rice ball, from convenience store chain 7-Eleven.
助けてください #Tokyo2020
— Anastasia Bucsis (@anastasure) July 27, 2021pic.twitter.com/mo8wpQYDfG
“OK, these are my favorite things in Japan” she starts her video with. But as she gets tangled up trying to remove the onigiri from its tear-away packaging, she pleads “OK…someone please tell me what I’m doing wrong… I’m a hot mess. Please help.”
Anastasia, here at SoraNews24, we’re always ready to help those in need, especially if we can do so by filling our bellies. So without hesitation, it was off to the nearest 7-Eleven to pick up some onigiri and put together a demonstration.

▼ Don’t tempt me, bento! I’m here for onigiri!

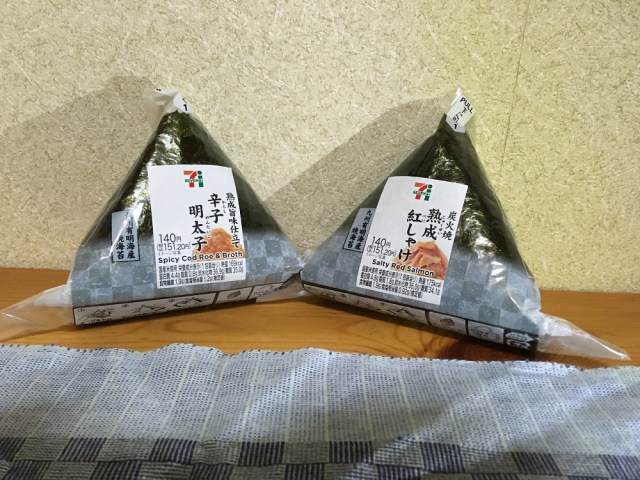
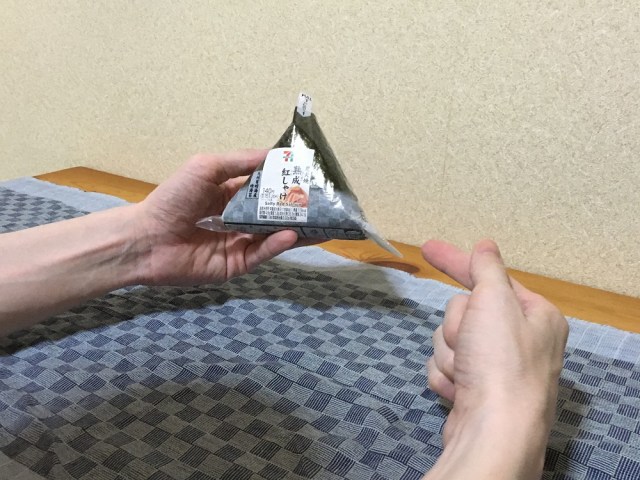
It’s worth pointing out that while onigiri usually translates as “rice ball,” the most popular kind sold in convenience stores are actually triangular. The reason they’re the most popular is because they’re packaged in a way that keeps the rice and seaweed from touching each other, so that the seaweed stays nice and crisp until the moment you bite into it. The downside, though, is that the special packaging isn’t very intuitive to remove.
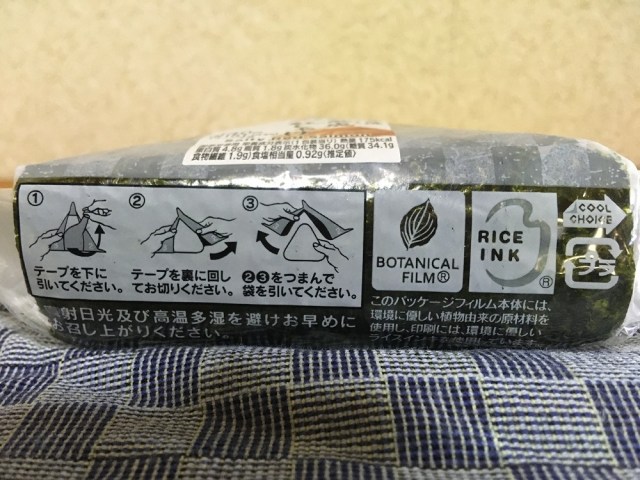
There is a diagram of sorts on the bottom, but it’s kind of like those “how to use chopsticks” illustrations you sometimes see on chopstick sleeves in Asian restaurants in non-Asian countries, in that it sort of looks like it’ll help, but isn’t really helpful enough to get the job done. So instead, let’s go through the process, from start to finish, together.

First, a video demonstration:
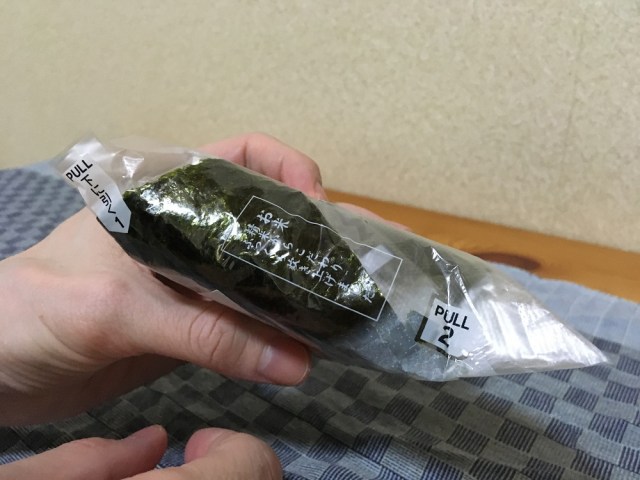
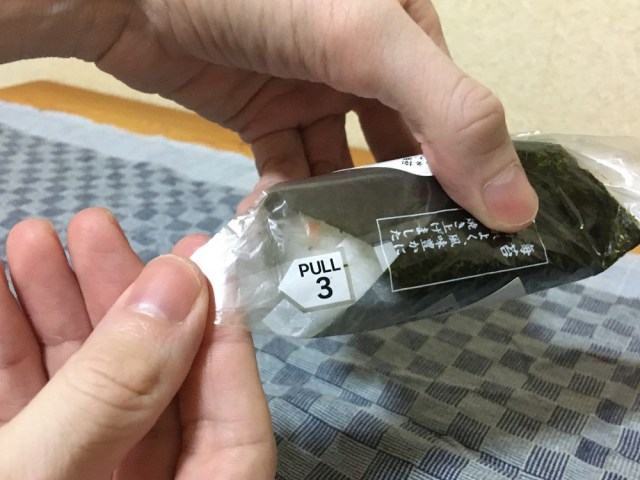
Let’s take a look at what just happened there. The important thing to remember is that just like a triangle onigiri has three sides, there are three steps to opening it, because it has three tabs, one at each corner. If you don’t perform the steps separately, and in the proper order, then you’re going to run into problems.
▼ Tab 1 (top)
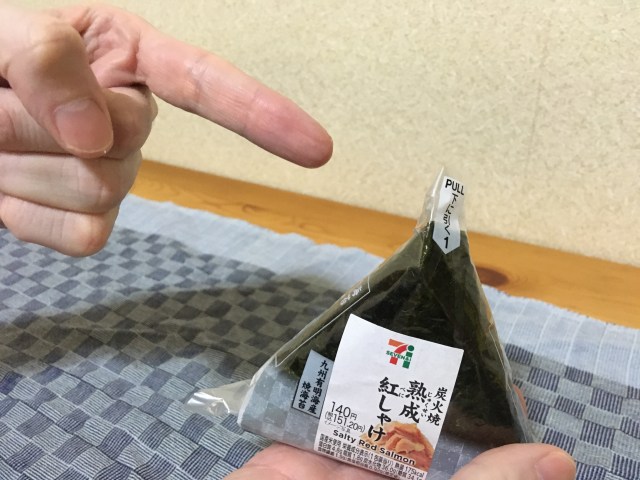
▼ Tab 2 (bottom right corner)
▼ Tab 3 (bottom left corner)

Step 1: Hold the onigiri in one hand, pinch Tab 1 with the fingers of your other, and gently pull straight down so that the wrapping tears.
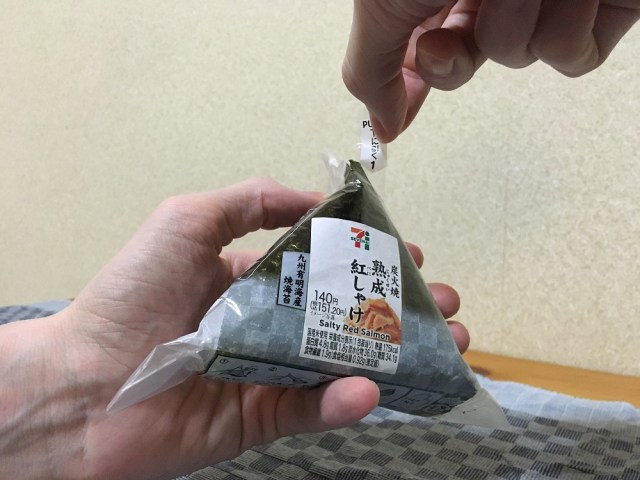
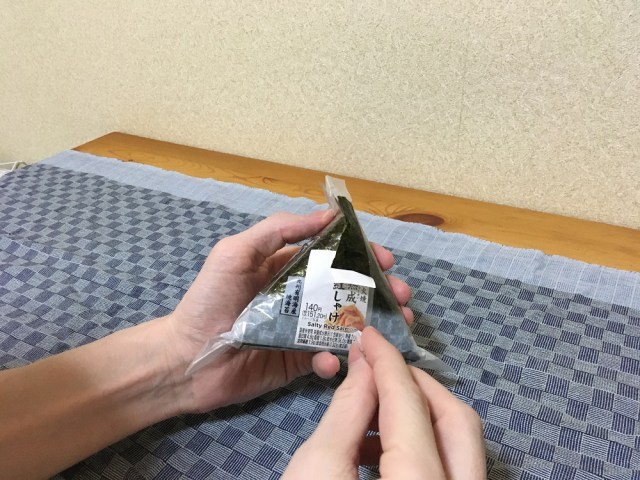
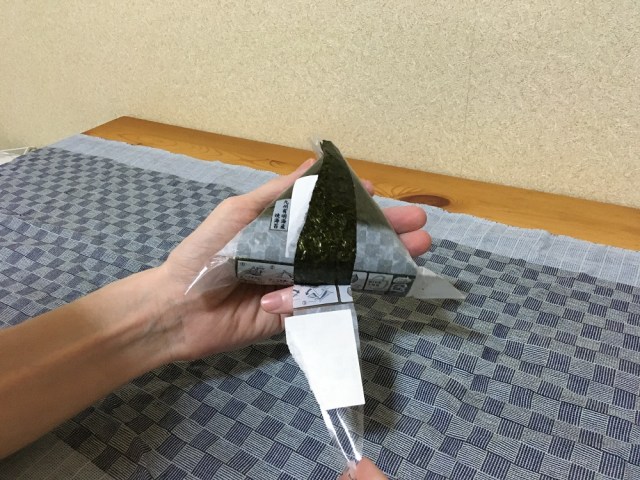
Once you get to the bottom, keep going until you’re onto the backside of the rice ball and continuing the tear back up towards the top.
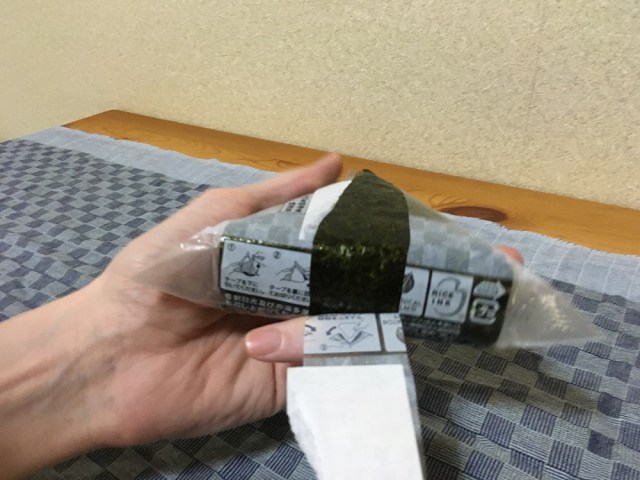

Keep going until you’re all the way back to the top, and with a final tug the strip of packaging should come right off.
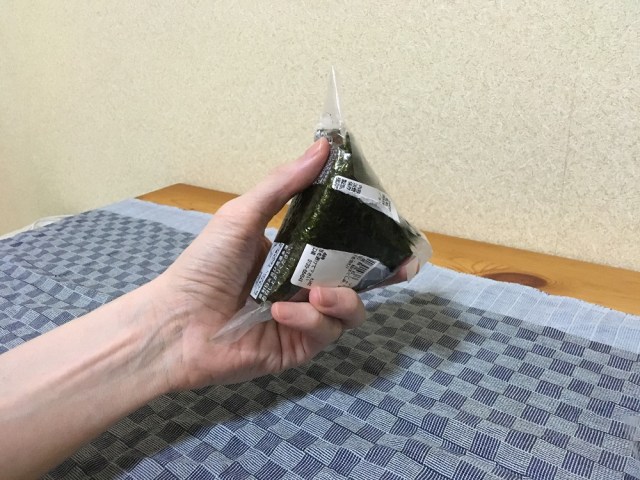
▼ At this point, your onigiri should look like it’s wearing a stylish little vest.
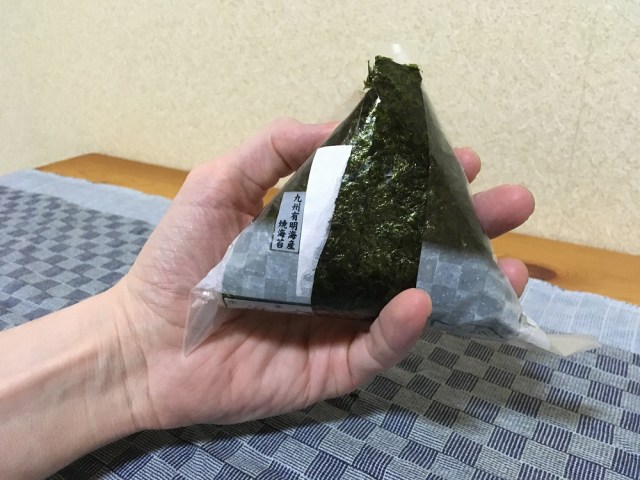
Step 2: Now it’s time to move on to Tab 2, in the bottom right corner (if it helps you remember, we’re moving clockwise around the rice ball).
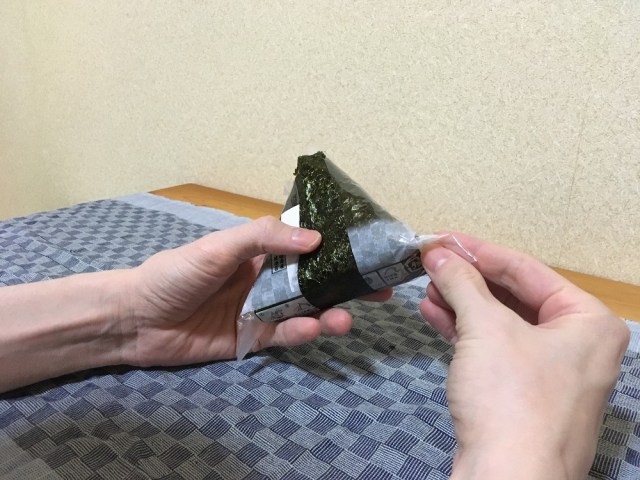
Keeping a firm but gentle grip with your left hand, pinch Tab 2 with your right and pull.
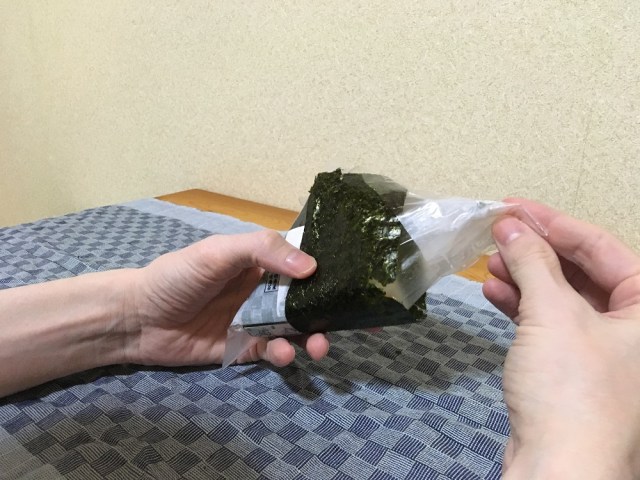
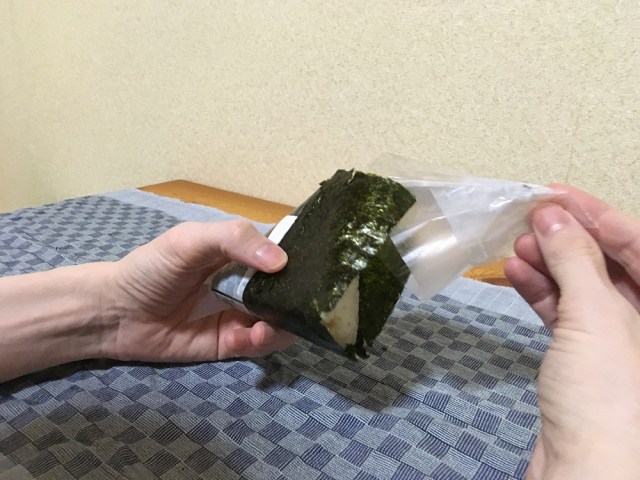
There shouldn’t be any initial tearing, but you’ll feel the packaging start to slide away from the rice ball. Keep going until you’ve freed the lower right corner of the onigiri entirely.
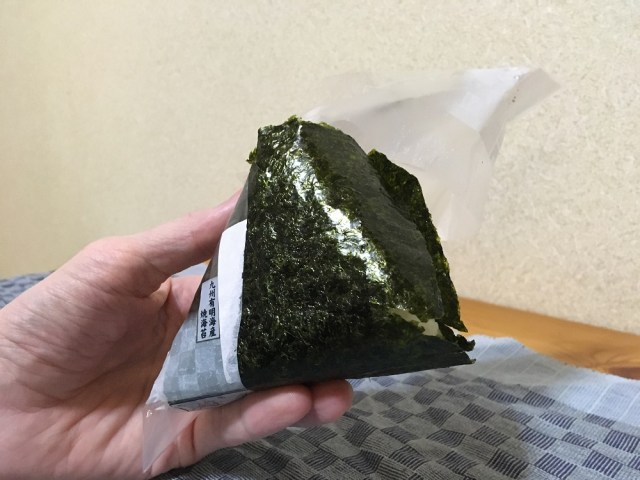
▼ Once you’ve got the corner out, you can tear off Tab 2 entirely, or leave it attached for the time being – either way is fine.

Step 3: OK, just one more tab to go, Tab 3, in the lower left corner!
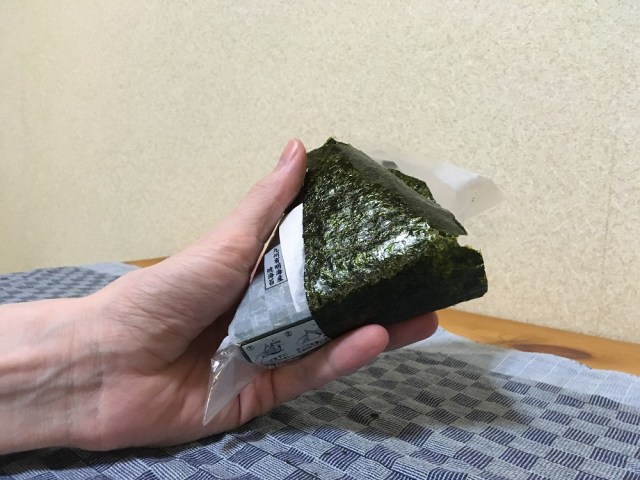
Step 3 is pretty much just Step 2, but in mirror-image. Firmly but gently grip the right half of the onigiri, then pinch and pull Tab 3 away.
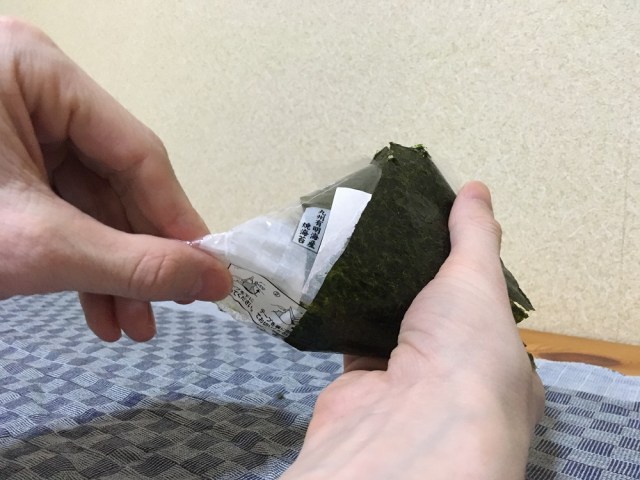
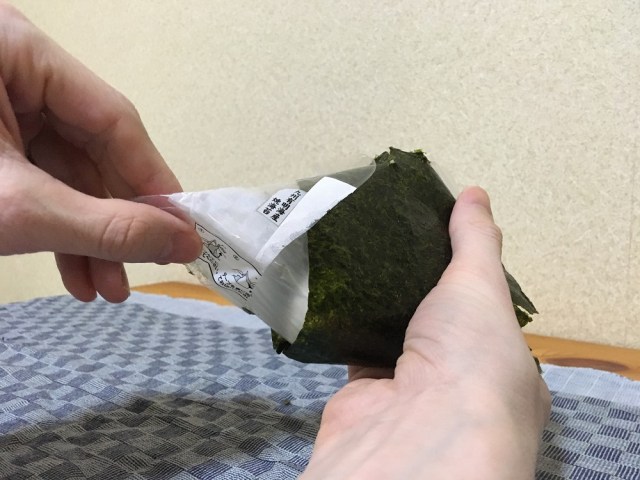
This time, there shouldn’t be any tearing of the packaging whatsoever, as it smoothly glides off the last corner.
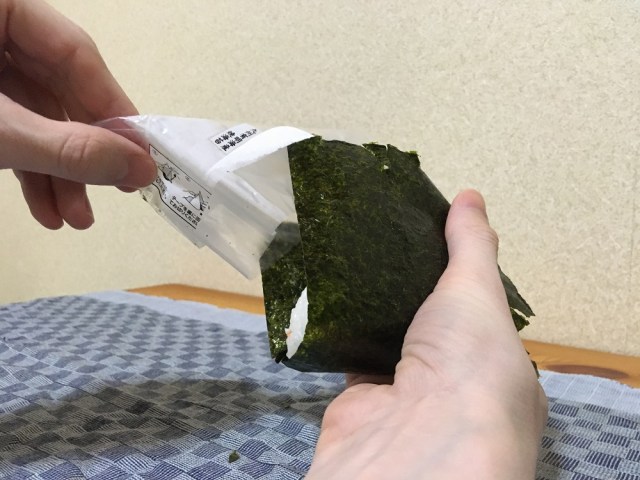
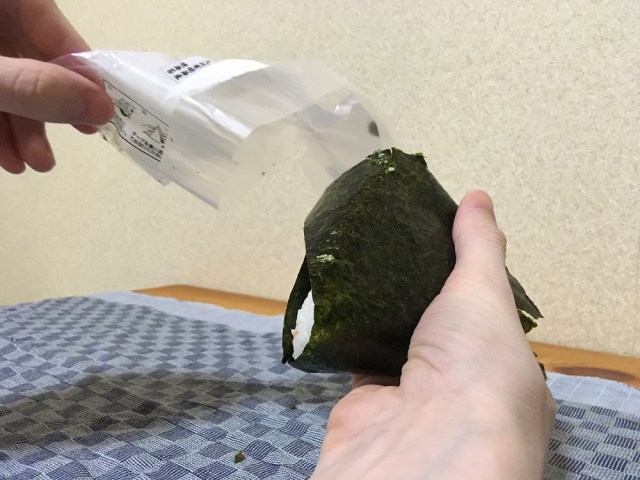
▼ Free at last!
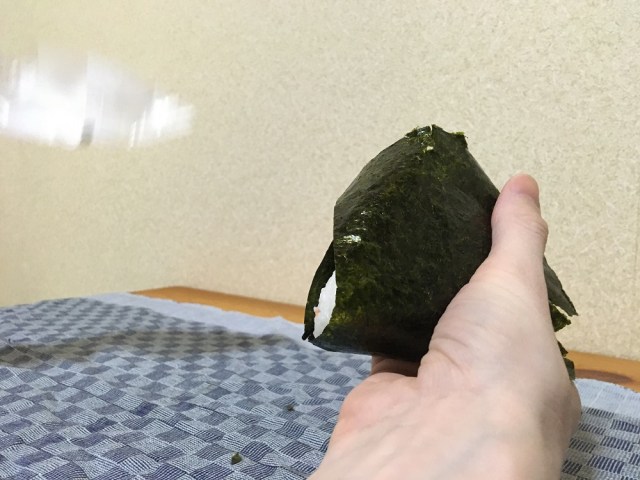
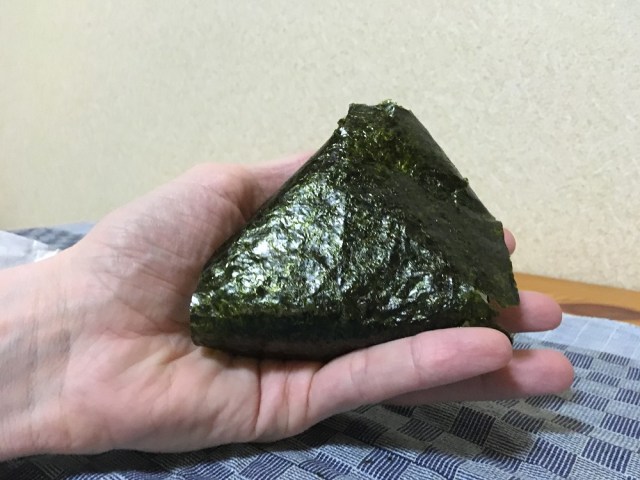
Since Anastasia requested “please tell me what I’m doing wrong,” she seems to have gotten into trouble by trying to perform Steps 2 and 3 at the same time, tugging at both bottom corner tabs simultaneously. While the motion for Tabs 2 and 3 is the same, though, their sections are folded differently beneath the surface, so they really do need to come off one at a time.
As mentioned above, the payoff for successfully completing the triangle onigiri puzzle is that the rice inside is still fluffy and moist, but the nori seaweed covering is crisp, not soggy. Because of that, you’ll probably want to fold the corners of the seaweed down around the rice to make the onigiri easier to bite into…
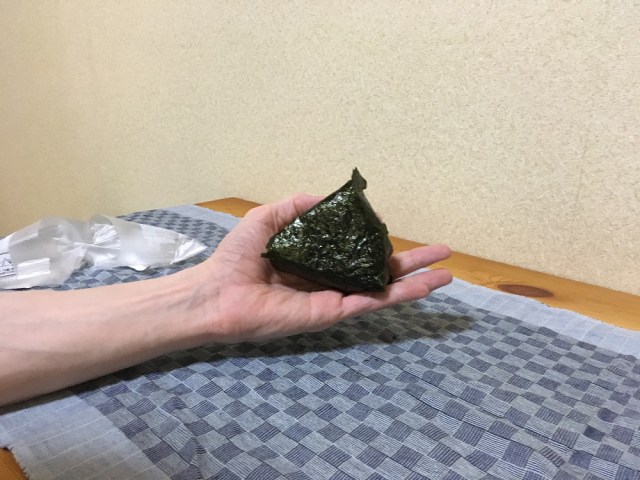
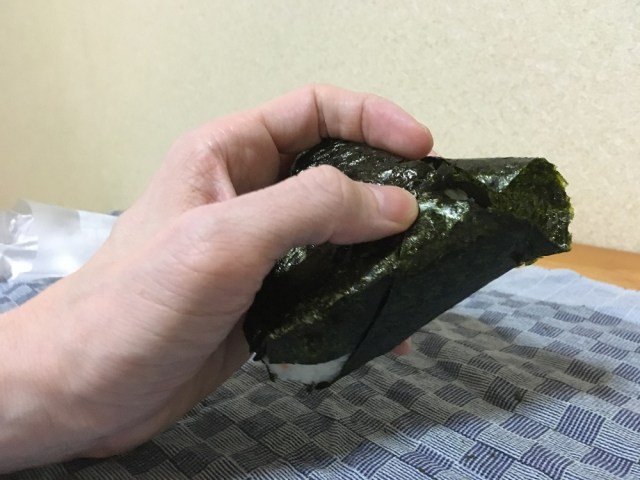
…and then it’s all done but the fun, and it’s time to dig in!

Onigiri with shredded salmon, like this one, is one of the most popular varieties, but there are tons of others, including tuna, bonito, beef, shrimp, and spicy cod roe.
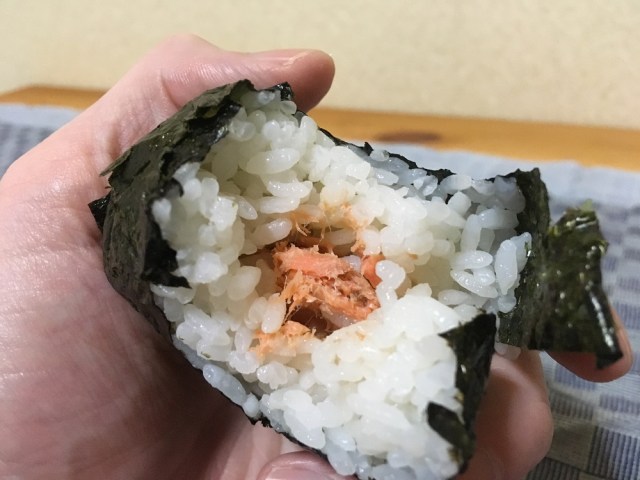
I hope this helps, Anastasia, and if anyone else out there is having a crisis I can save you from by going out and buying myself more Japanese snacks, don’t hesitate to let me know.
Photos, video ©SoraNews24
● Want to hear about SoraNews24’s latest articles as soon as they’re published? Follow us on Facebook and Twitter!
Credit:

0 comments:
Post a Comment