Daiso DIY anime art! How to make awesome acrylic character blocks with 100 yen store parts
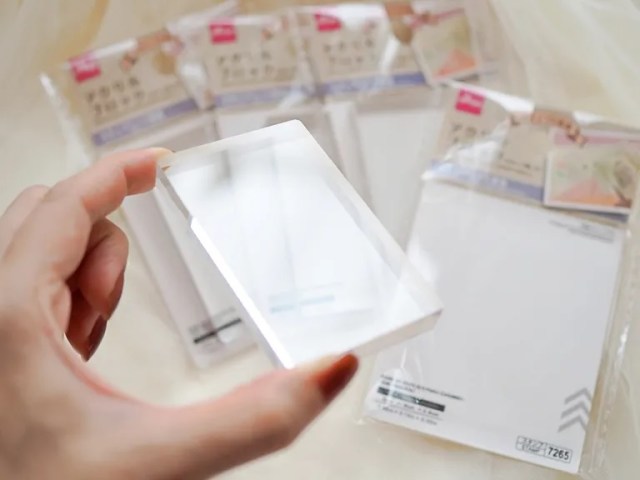
Clever, quick, and easy idea lets you create one-of-a-kind anime art.
Acrylic figure stands have become one of the most popular types of anime character goods in Japan these days, and the appeal is easy to see. They’re less intrusive on the overall atmosphere of a room than a poster, and also more compact and stable than a figure, making them easy to put on the corner of your desk so you can have your favorite character keep you company as you work or study.
For example, look at this acrylic art block for Mayu Nekoyashiki, a.k.a. Cure Lillian, from the Wonderful Pretty Cure arc of magical girl series PreCure. It’s both cute and elegant, with the sense of depth providing an especially artistic touch.
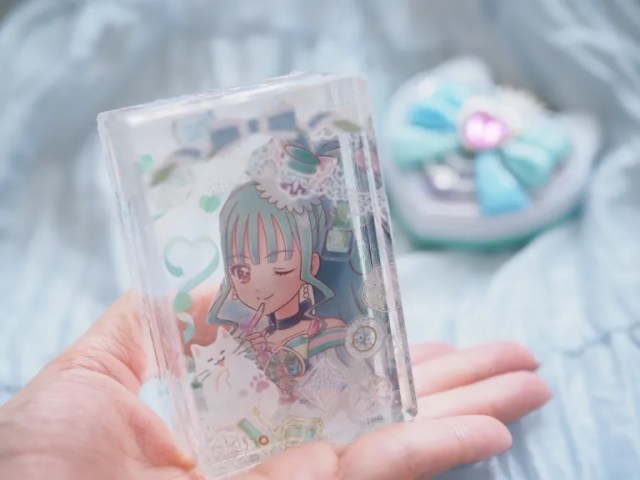
If you’re thinking you haven’t seen this particular piece of merch for sale, though, that’s because we made it ourselves! Not only that, we were able to get everything we needed at the 100 yen shop (Daiso, specifically) and didn’t need to use any specialized tools whatsoever.
Let’s walk through the steps of this currently buzzing social media trend among anime and idol fans in Japan.
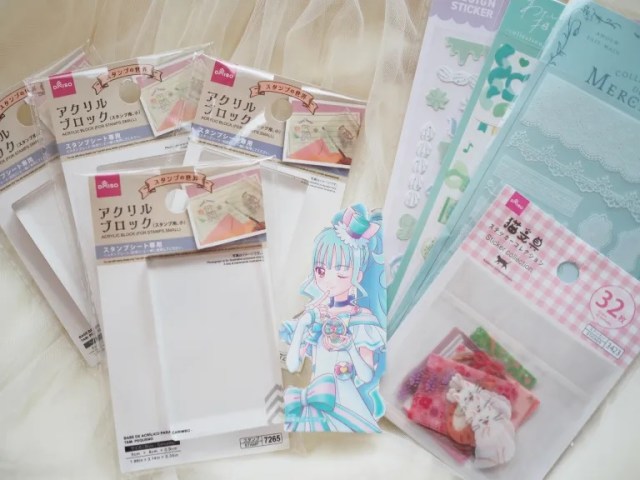
First, you’ll need a picture of the character who’s your muse (we cut out a picture of Cure Lillian from the packaging of some PreCure merch we had). Then you’ll need a few clear acrylic blocks, so we picked up four of them at Daiso. You’ll also want some stickers, preferably something that matches the image colors of the character or fits the aesthetic atmosphere of their series (we got these at Daiso too, in their stationery section). Finally, you’ll need both double-sided and clear single-sided tape.
There’s something oddly satisfying about the pristine clarity of the acrylic blocks, so it took just a little bit of determination for us to get started with the first step, using the double-sided tape to attach the character’s picture to the surface of a block.
▼ This is, by the way, all the double-sided tape you’ll need to use.
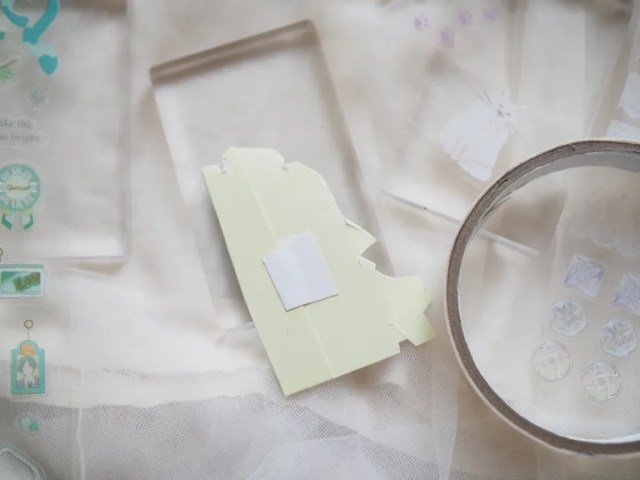

Now it’s time to create the foreground and background layers for that sense of depth. One by one, we added the stickers, setting the block we were working on either above or beneath the others to see how the stickers were stacking visually, while keeping a few of them in reserve for a reason we’ll get to a little later on.
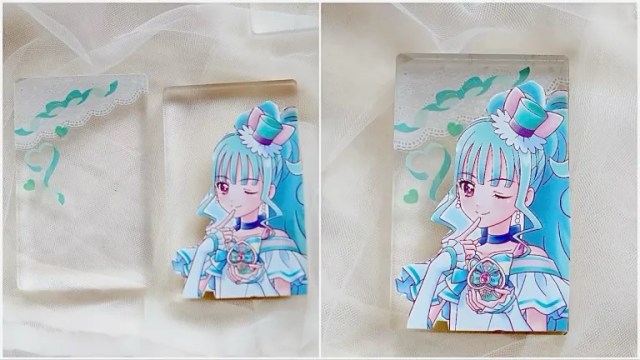
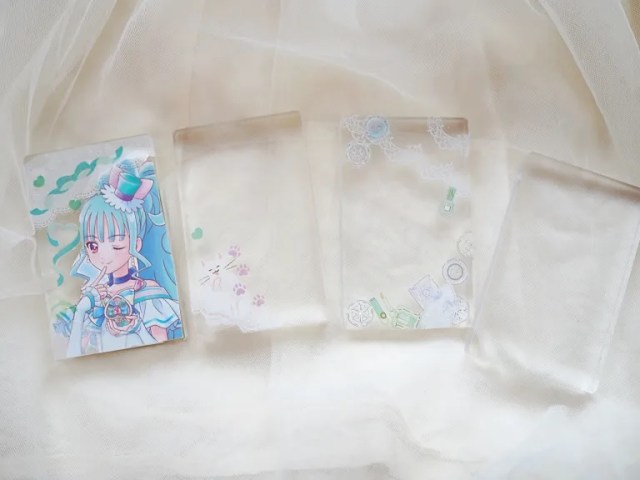
Once you have all the layers set it’s time to stack all the blocks in the sequence you want (we opted to place Cure Lillian second from the bottom). Then, using the single-sided clear tape, preferably some strong, sturdy packing tape, wrap the blocks together.
This is where the stickers you have left over come into play. If after tapping the blocks together you have any unwanted gaps or unsightly tape bunching, you can use stickers to cover them.
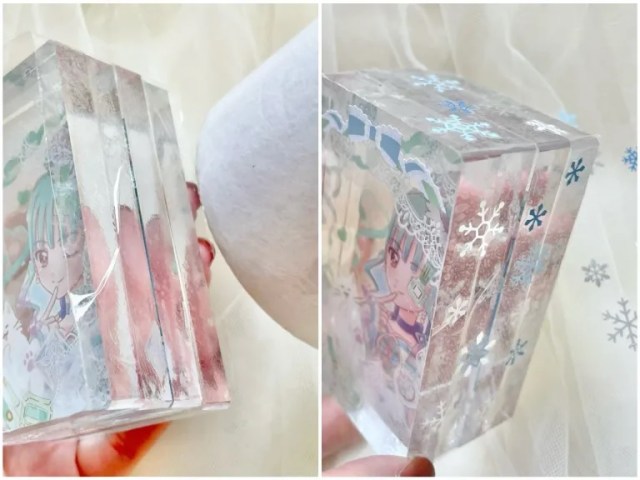
And with that, your acrylic art block is finished!
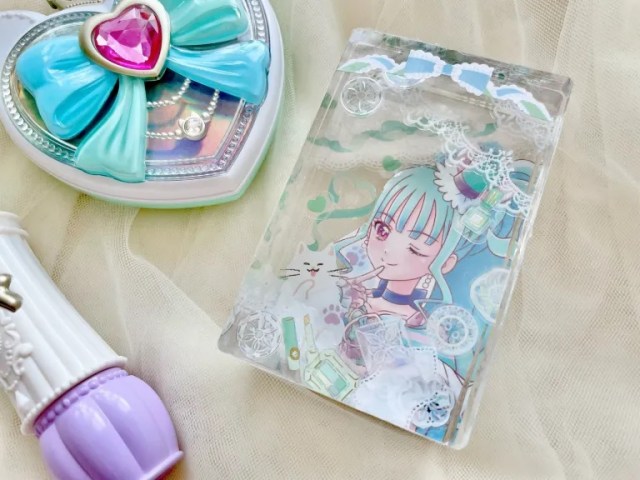
If you want a more compact design, you could get away with using as few as just two blocks. Using at least three, though, really gives the character some extra presence by allowing for both foreground and background layers, and the extra thickness helps catch the light from various angles for a sparkly effect that feels especially appropriate for your favorite character, like they’re giving off a sparkly aura.
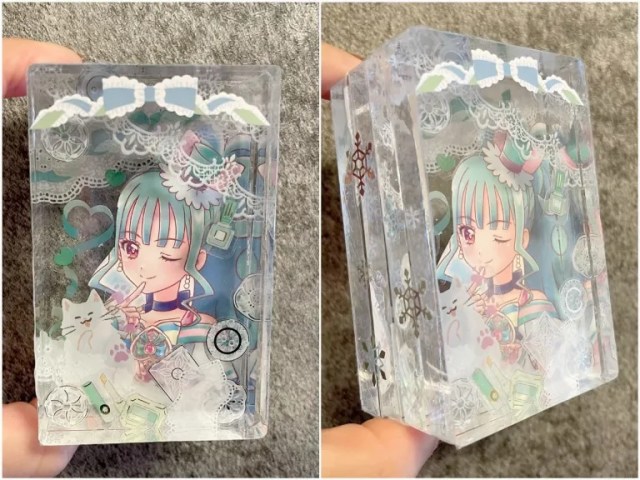
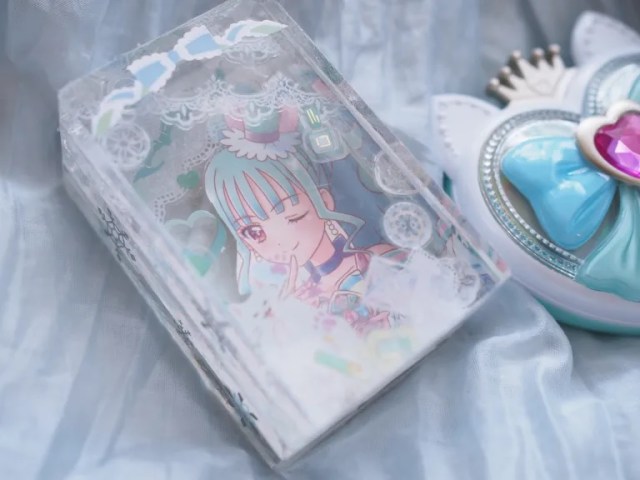
So with an investment of just a couple hundred yen and a little bit of time, you’ve got a beautiful, one-of-a-kind expression of your fandom, and we won’t be surprised if we start seeing these on a lot more desks around the office soon.
Photos ©SoraNews24
● Want to hear about SoraNews24’s latest articles as soon as they’re published? Follow us on Facebook and Twitter!
Credit:

0 comments:
Post a Comment