Got a hankering for hanpen? Here’s how to make your own Japanese fish cakes【SoraKitchen】
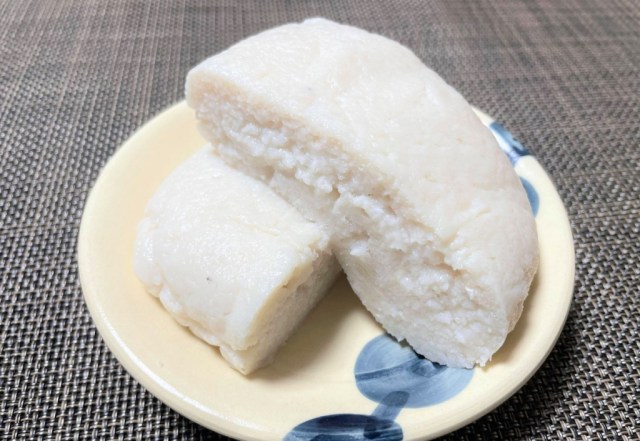
This particular style of fish cake dates back to the Edo period (1603-1868) and is made using only three key ingredients.
Our Japanese-language correspondent K. Masami is always up for a culinary challenge. As it goes, different ideas for kitchen experiments tend to pop into her head at the most random of times. Case in point: she recently woke up with one such thought out of nowhere: “How does one make hanpen, a form of whitefish cake?”
She of course knew that hanpen is a surimi (fish or meat paste) product, but how it arrives at that point from being fresh fish was a mystery to her. After doing a little research on the Internet, she found a good reference guide from Kibun Foods and became determined to try making it for herself.
▼ Here’s triangular hanpen that you can buy at a store. How would Masami’s homemade version stack up?
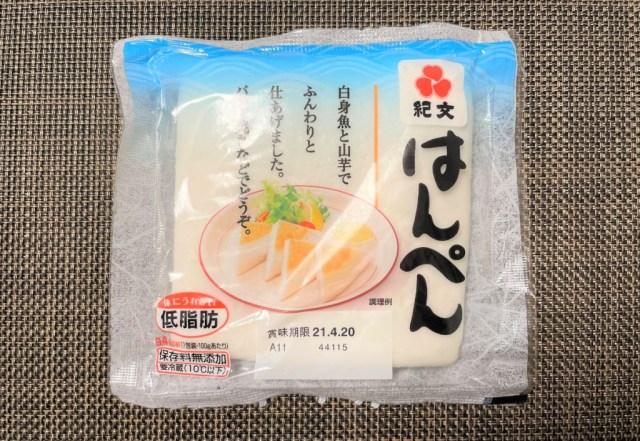
According to the guide, the main basis of hanpen is whitefish with smaller added amounts of egg whites and yamaimo (Japanese mountain yam). Just as when making ice cream, adding more air during the mixing process results in a fluffier texture. It wasn’t too far off from what she expected–and the mixing process definitely seemed to be the most crucial step in determining the final result. It was a little daunting but she rolled back her sleeves and prepared for the challenge.
Ingredients
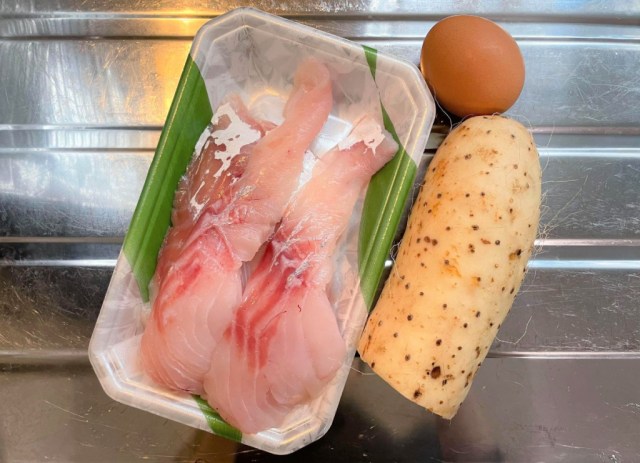
- White fish (Masami used cod): 2-3 slices
- Egg whites: 1-2 eggs
- Yamaimo (Japanese mountain yam): slightly less than 1 yam
- Sugar: to taste
- Mirin (sweet cooking sake): to taste
- Salt: to taste
▼ The three main ingredients at a glance
Instructions
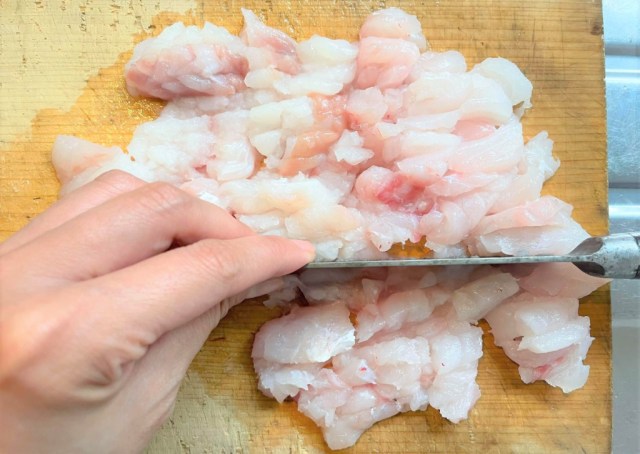
1. Remove any fish bones and roughly chop the fish. If the smell of raw fish bothers you, you can blanch it first.
2. Make a meringue using the egg whites. A hand mixer will produce the fastest results.
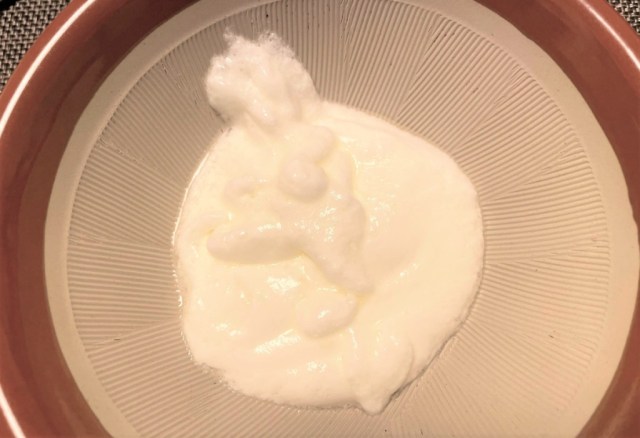
3. Lightly blend the chopped fish in a blender.
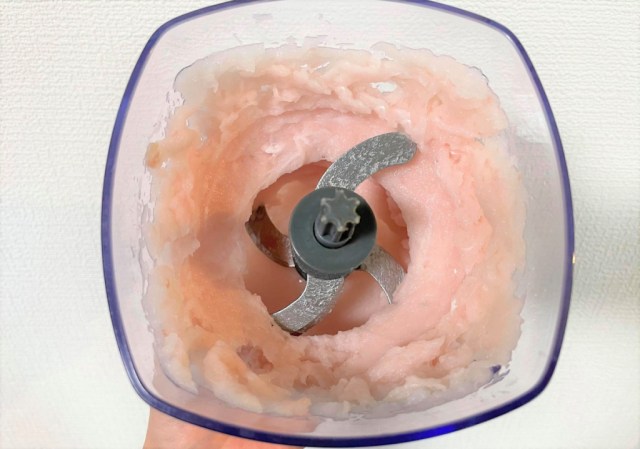
4. Combine the blended fish with the meringue. Mix it little by little into a soft paste.
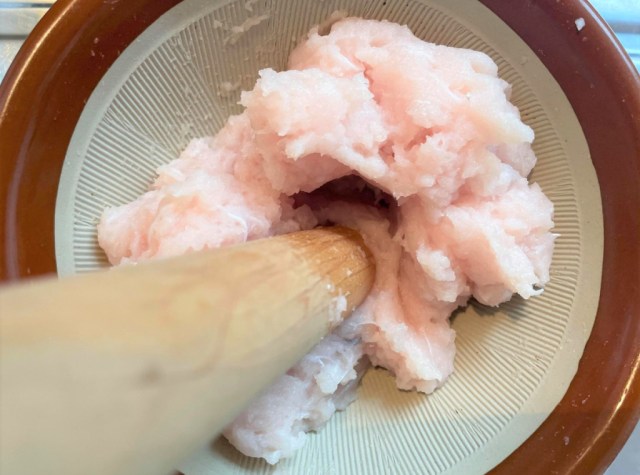
5. Add the yamaimo to the mixture as well, stirring in air as you go. Add any desired seasonings to taste and continue mixing.
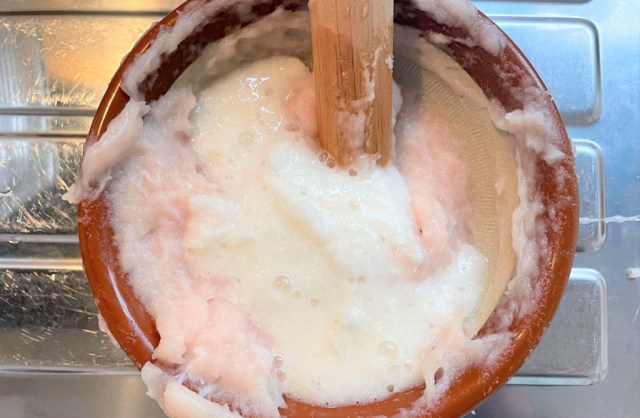
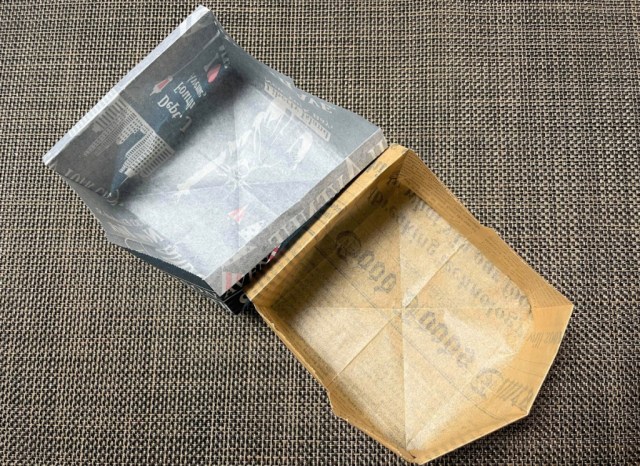
6. Form a two-layer container from parchment paper and pour in the mixture.
7. Bring the mixture to a boil in a stovetop pan.
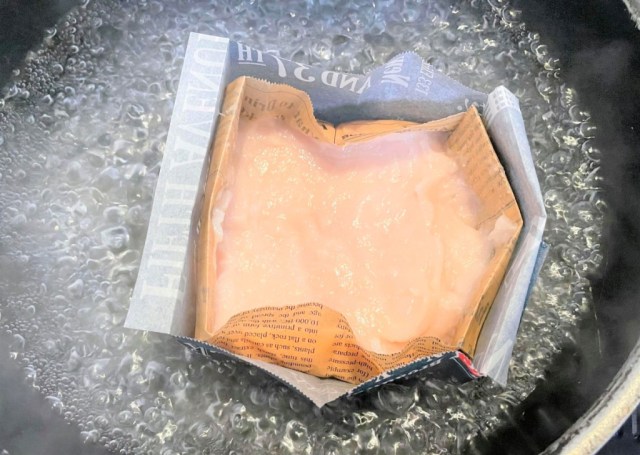
8. Once the surface starts to harden and it looks like it’s about to come out of the parchment, flip it over directly into the pan.
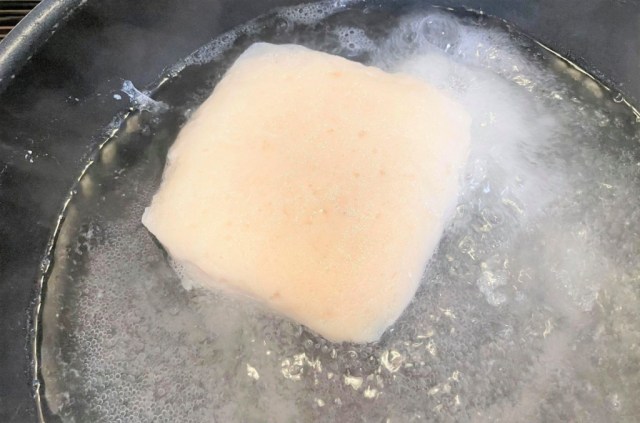
9. Let it boil for two to three more minutes. You can check to see if it’s ready by sticking a toothpick in it, and it it comes out clean, it’s cooked enough. Drain the water, then stick the cake in the fridge for a bit to cool.
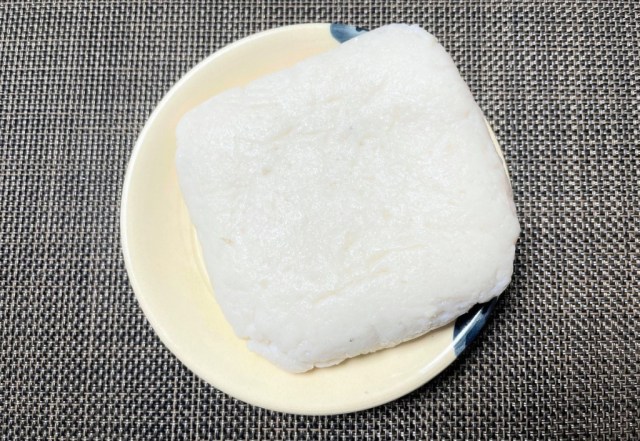
▼ Your hanpen is finished!
Reflections
As Masami surveyed the fruits of her labor she noticed that her homemade hanpen was considerably thicker than the kind sold in stores. Even after making multiple cakes she couldn’t shake the thickness element.

The taste, thankfully, was solidly in the realm of hanpen–and quite yummy. The texture was also a little different from the characteristic fluffiness of store-bought hanpen but not in a bad way. Hers was just a little bit denser.
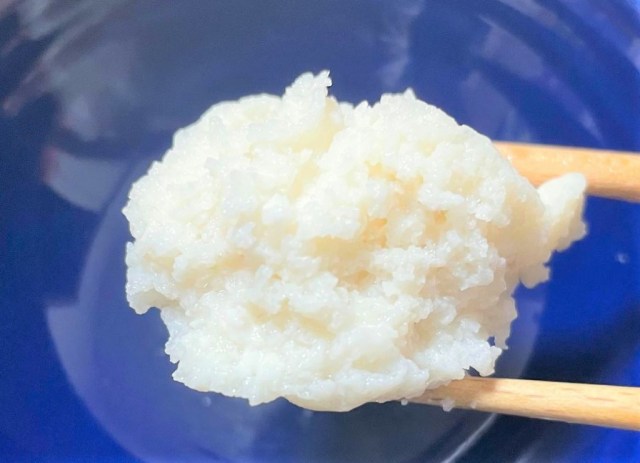
Masami concluded that hanpen is one of those foods that seems deceptively simple to make but is much harder to master. She recognized that her homemade cooking would of course differ from a mechanized manufacturing method, but they each had their pros and cons. Regardless, she looks forward to eating her own hanpen in a soup or frying them for a satisfying addition to any dish.
For another seemingly simple food that requires just the right touch to make, check out our attempt to recreate so, a 1,000-year-old Japanese dessert.
Photos © SoraNews24
● Want to hear about SoraNews24’s latest articles as soon as they’re published? Follow us on Facebook and Twitter!
Credit:

0 comments: