
Daiso DIY dessert! 100 yen store’s super-easy mochi sweets kit is our new hero
When it’s this easy and this affordable, there’s really never a reason to not be eating warabi mochi.
Daiso isn’t Japan’s favorite 100 yen store just because of its low prices, but also because of its amazing selection. It seems like every time we stop by, we find something awesome that we didn’t know that they sold, and suddenly realize we need.
The latest example of that: on our last Daiso run, we found out that they have super-easy-to-use kits for making your own mochi sweets!

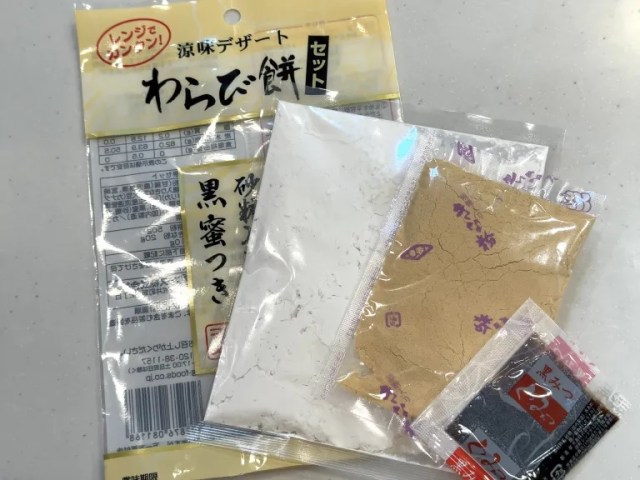
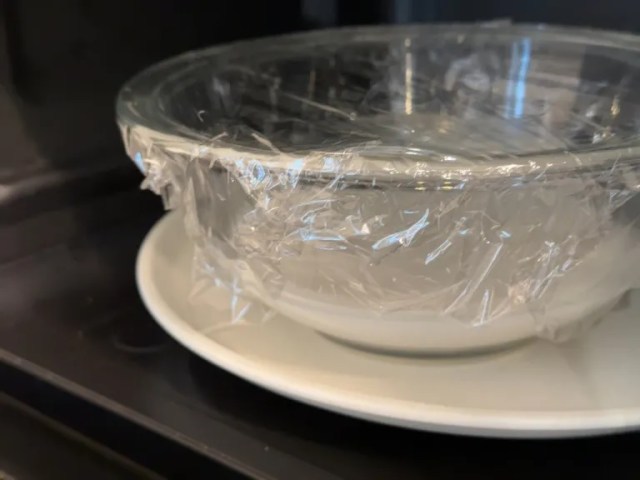
Specifically, this kit is for making warabi mochi, a jiggly mochi dessert. The kit costs just 100 yen (US$0.65), and it contains every single ingredient you’ll need, aside from some water. As for necessary equipment, you’ll need a bowl, something to stir with, a spatula, and a microwave.
Open up the pack, and you’ll find three packets inside. The white one is mochi flour, the brown one is kinako (sweet roasted soybean powder), and the black one is kuromitsu (a molasses-like sugar syrup used in traditional Japanese desserts).
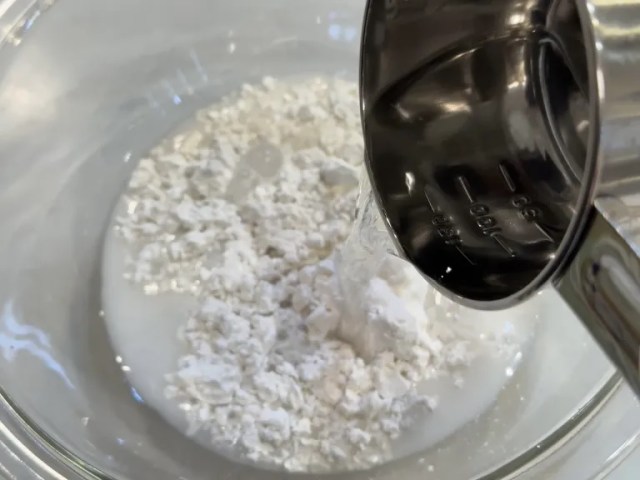
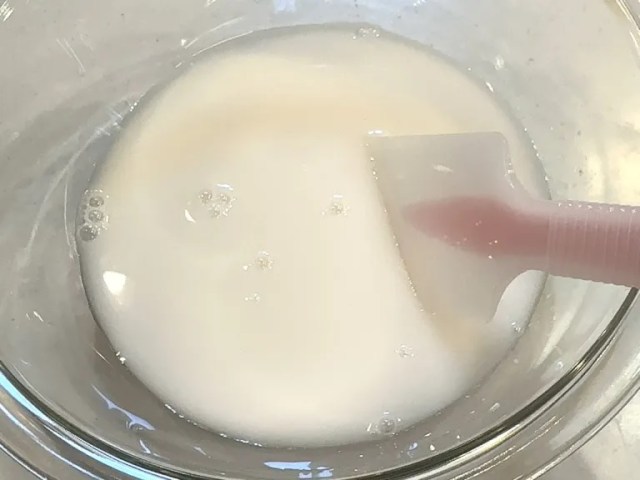
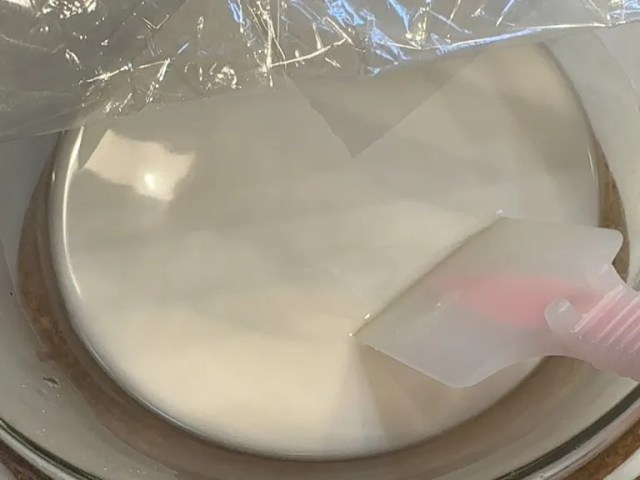
Start by combining the mochi flour with water in a bowl and stirring them together. We used the entire 50-gram (1.8-ounce) packet of flour, which requires 230 milliliters (7.8 ounces) of water, and the resulting mixture should be milky in color and consistency.
Next, pop the mixture in the microwave. In total, the directions call for four minutes of heating at a 500-watt setting, but you’ll actually want to break that time up into one-minute stints, taking the bowl out and stirring between sessions to make sure the mixture hardens evenly.
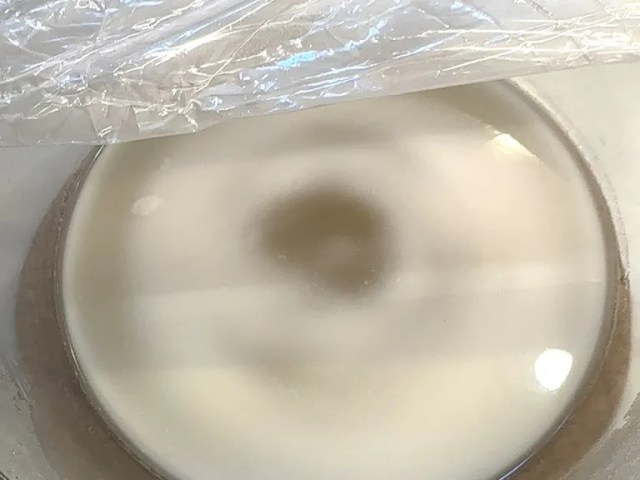
We didn’t notice much of a change after the first and second stint in the microwave. But the third made a dramatic difference, as a translucent gelatin was forming in the center!

Give this a stir, and you’ll feel that it’s now in a half-solid, half-liquid state, making this feel like half cooking project and half science experiment.
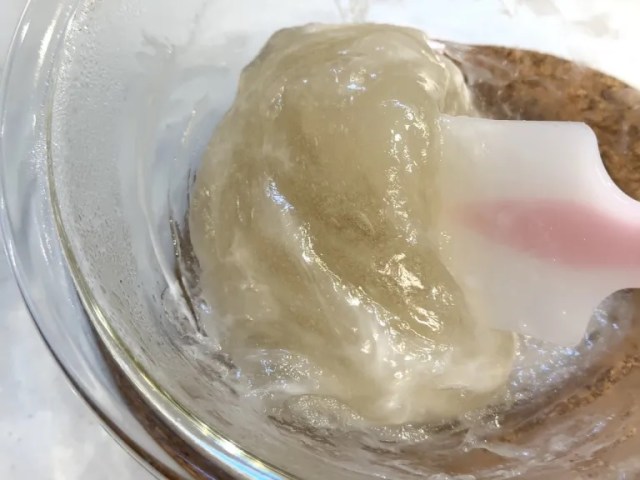
After one more time in the microwave, the mixture should now be a sticky paste.
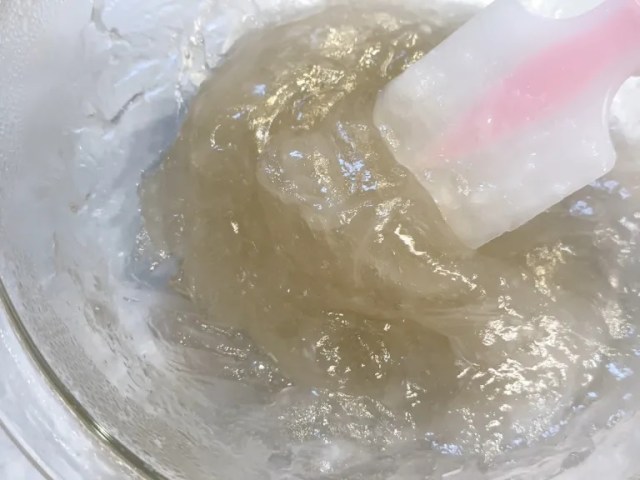
It’ll take a bit more force now, but give it another couple of good stirs, then transfer it to a container of some sort, making sure you’ve got some extra space left over inside.
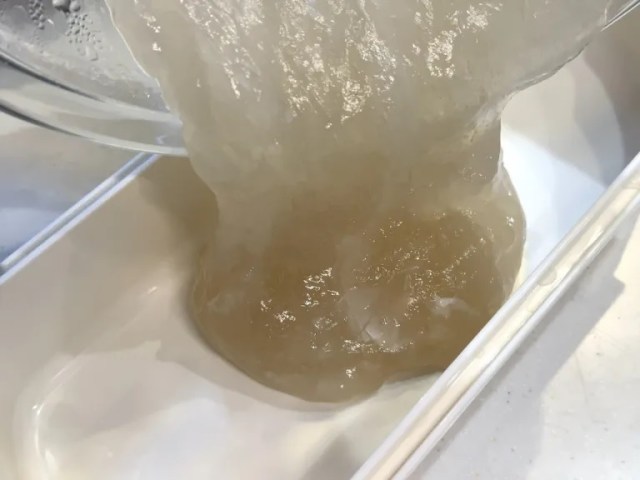
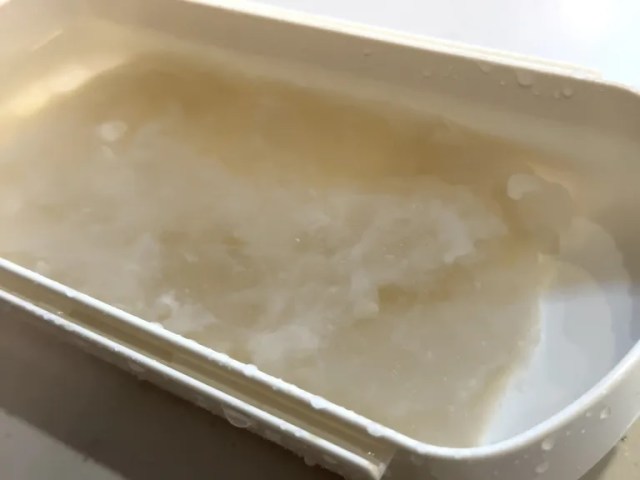
Next, we need to cool the mixture down, but you’re not supposed to put it in the refrigerator to do so. Instead, cover the mixture with cold water from the tap.
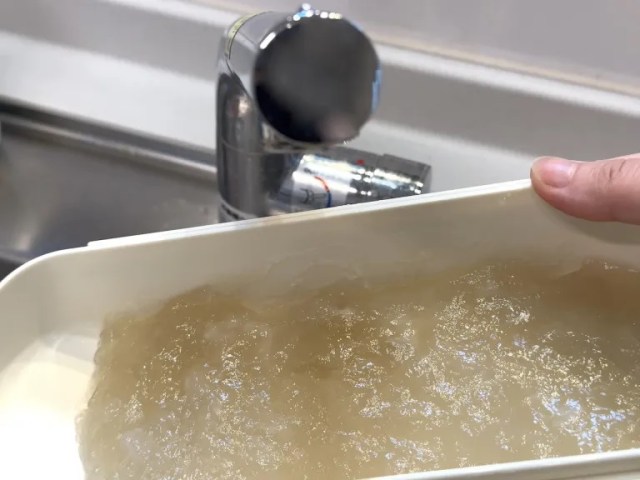
The kit’s directions are pretty vague on the exact amount, simply saying to “cover it with plenty of water poured from above,” so we filled the container up.
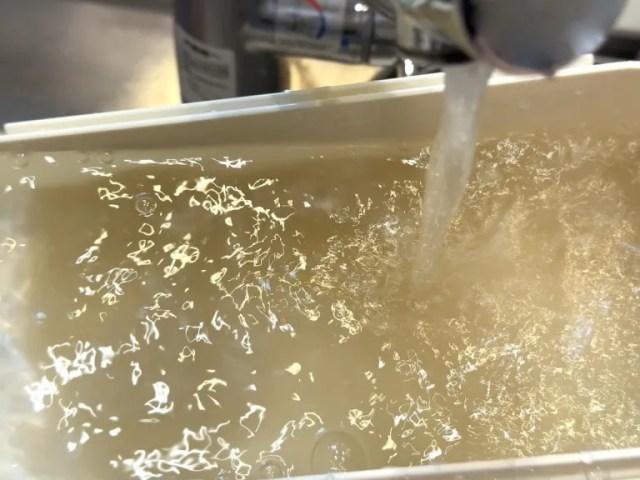
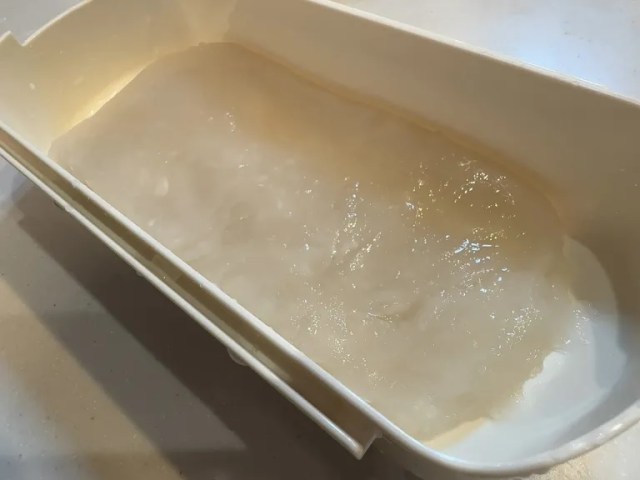
The water won’t dissolve the gelatin, and after an hour or two, the mixture should be firm and cool.
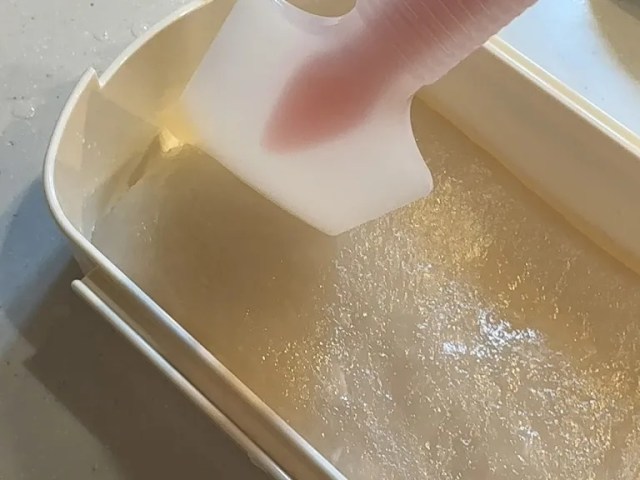
Now it’s time to cut the mixture into blocks, which you can do with a spatula.
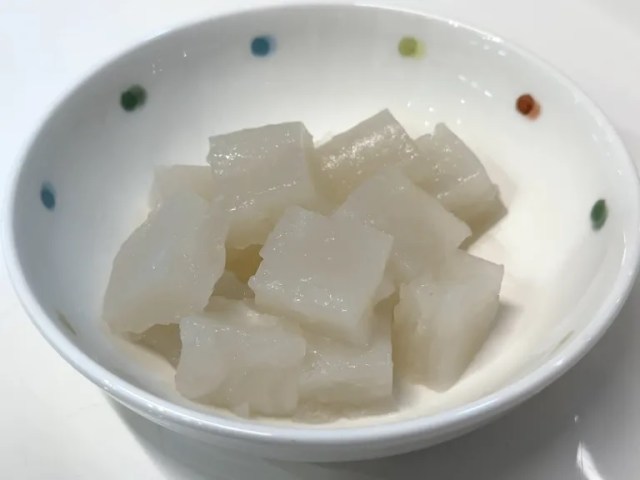
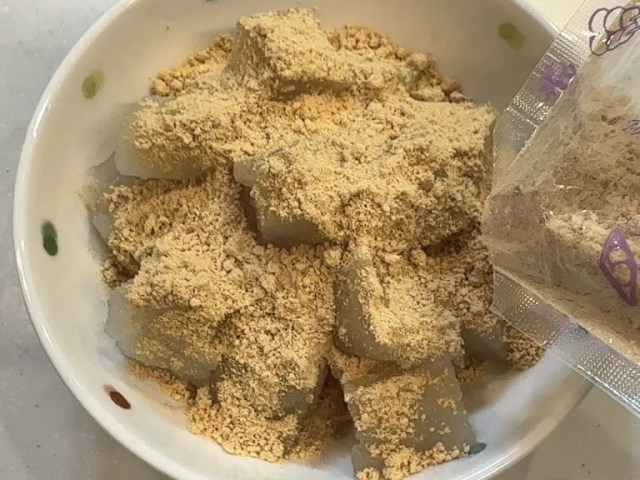
At this point, you’ve got a bowl of warabi mochi! Well, technically this is warabi mochi, but before you dig in you’ll want to spruce it up some, which is where the kinako and kuromitsu come into play. Open up their packets, pour them on…
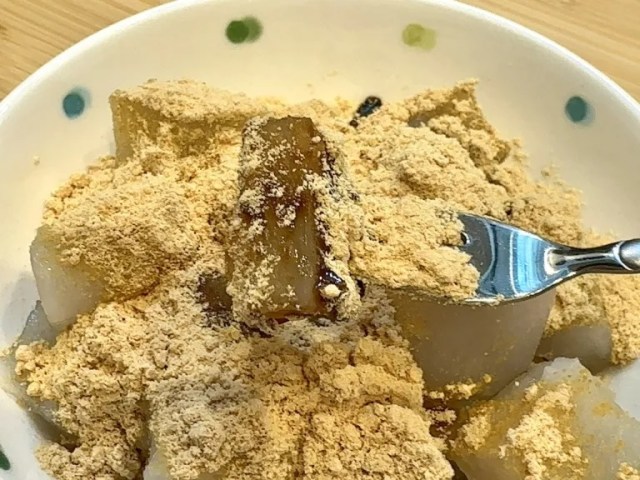
…and now you’re really ready to eat!
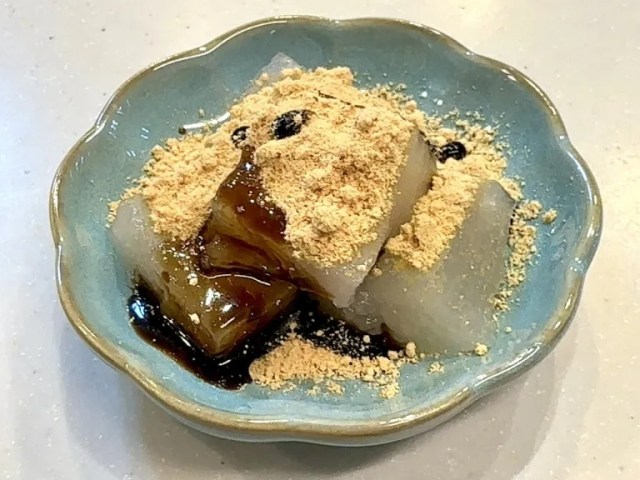
Part of what makes warabi mochi a classic Japanese dessert is how simple it is, and that straightforward deliciousness is 100-percent present in this 100-yen do-it-yourself version. Put it on a classy plate, and maybe even add a dash of matcha green tea powder if you’ve got some handy, and you’ve got an easy-to-make, easy-to-love treat for the next time you’re having friends over or just feel like indulging your Japanese sweet tooth.
Photos ©SoraNews24
● Want to hear about SoraNews24’s latest articles as soon as they’re published? Follow us on Facebook and Twitter!
Credit:


0 comments: